I Got Pi, Now What?
When I got the email that my Raspberry Pi had been delivered, I was really excited to get home and unbox it :)
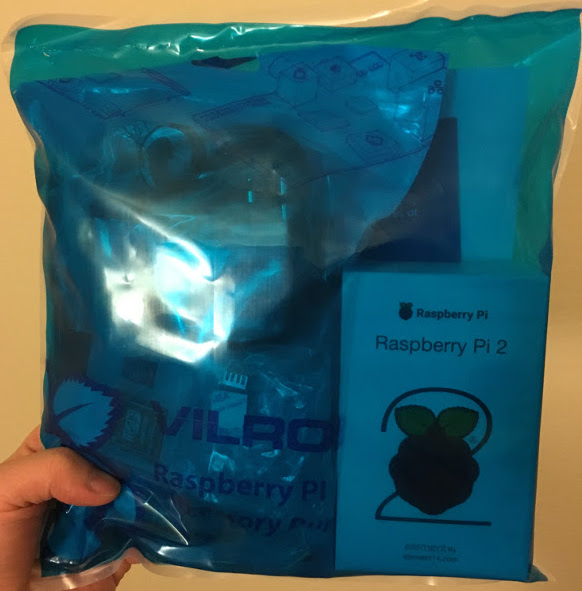
Everything was super simple to setup.
- Put the Pi in the case
- Put the SD card in the Pi
- Plug in USB WiFi dongle, keyboard, mouse, HDMI cable, and power it on (it’s alive!)
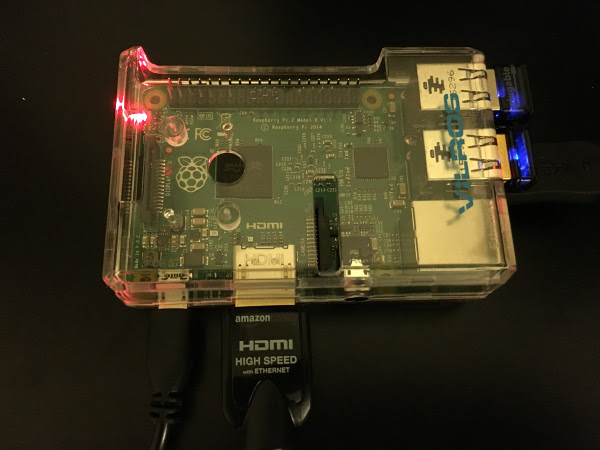
In fact, it was so quick and easy that it was a little anti-climatic to be honest :P But there it was, a full Linux computer the size of a box of mints.
After placing my order for the Raspberry Pi, I was eager to get started hacking on some projects. While waiting for it to be delivered (two whole business days? I want it now! *entitled, so spoiled*), I was reading about projects all over the Internet. There are so many cool projects, but the AlexaPi stuck in the back of my mind as I was trying to figure out what I wanted to build. It’s a project that uses the Raspberry Pi to make a DIY Amazon Echo.
I had recently read about Amazon’s Alexa Voice Service and was interested in its capabilities. The service is currently in developer preview (read: free to hack on) and it’s always fun to get in on the ground floor with new tech.
I went ahead and cloned sammachin’s Github repo for AlexaPi and started to read over the code. It wasn’t too hard to grok but I didn’t want to mess with all the GPIO hardware button stuff. First of all, I didn’t have the hardware needed for it. Second of all, it seemed like an arbritrary requirement; something that wasn’t really needed. I started thinking about different “triggers” that could be used in place of the hardware button, and the building blocks for my first project started to form in my mind.
What followed, were some feverish weekend and evening hacking spurts which I’ll try to distill into some sensical information over the next few posts.